Camera Settings and Presets

To see how the different Camera Settings affect your camera skip ahead to Example Camera Use Cases
Camera Settings allow you to quickly apply different settings to your Beam Camera. You can apply a default view that will persist through your application, and can be reliably restored at any point during runtime. You can also provide any number of presets for your users. These presets can also be customised by the user and stored within their PlayerPrefs.
The inspector for the Camera Settings will update to show you which options are applicable to your current settings. Disabled items will be ignored based on your current settings.
Camera Settings are presented as a struct, meaning you need to edit your settings, then apply them to the camera by calling UpdateCameraSettings. Editing the Camera Settings from the Inspector at runtime will require you to force an update call, otherwise systems like the BeamObjectHider will not correctly function.
Settings Explained
Adjusting settings will only update your camera when you have the inspector selected, a stream preview active, or are currently streaming. They will not update in edit mode. It is recommended to copy settings from play mode to edit mode to use as defaults or presets.
Field Of View
This adjusts the field of view of the camera. Notably, if you have Smoothing Amount set to anything higher than 0 then the field of view will be interpolated respective to the Smoothing Amount.
Camera View
This changes the overall viewpoint of the camera. You can set it to either First Person, Third Person, Selfie, or Object Attached.
First and third person camera views follow the player's position. Selfie will will move to a specific selfie transform that you should assign. Object Attached will move to the transform you specify.
Generally this will only control the position of the camera, the Look Type handles rotation.
Selfie vs Object Attached
Selfie and Object Attached camera views are designed for two different types of camera interaction. The selfie mode is meant to be used when you want to attach the camera to a specific preview point, acting like a phone. Object attached is meant to be used for more dynamic cameras, such as on a drone or something within your scene. Users should never be able to select object attached themselves.
Look Type
This changes what the camera will be looking at. You can set it to either Direction, Player, or Look Position.
The Direction option will use whatever the forward direction of your Camera View option. In first person and third person this will be the forward direction of where player is looking. When using the Object Attached mode, it will take the forward direction of the object.
Player look type will make the camera look towards the player's head.
The Look Position type will take a point in front of the player, which can be customised using the Z Look Distance setting. This allows you to have your camera focus on what the player would be looking towards, rather than directly at the player.
Smoothing Amount
The smoothing amount controls how smoothly the camera will move and rotate. It also affects the speed of field of view changes. A higher value will make the camera's position and rotation update slower, while setting it to 0 will turn off any smoothing.
Y Angle
This value controls the rotation of the camera around the player, when using the Third Person Camera View option. It uses the player's forward direction as it's baseline. It does not affect any other Camera View setting.
Z Distance
This value controls how far from the camera will position itself when using the Third Person Camera View option. It uses the player's forward direction as it's baseline, combined with the Y Angle setting. It does not affect any other Camera View Setting.
Z Look Distance
Controls how far in-front of the player the camera look when using the Look Position Look Type. It uses the player's forward direction as the baseline. It does not do anything when using other Look Types.
Camera Height
Adjusts the camera's Y position, relative to the player's height, when using the Third Person Camera View.
Head Height
Adjusts the Y offset of the camera rotation, when using the Player or Look Position.
Presets
Presets can be assigned for your game but can be modified by the user. You can access them through the LoadPreset function, save them with SaveCurrentCamera, and reset them all to default with ResetAllPresets.
Example Camera Use Cases
Here are a number of example camera settings, what they look like, and how they could be used within your game.
All of the settings below have their Smoothing Amount set to 4, which can be changed as you desire.
If certain settings are not included, they are either not applicable or not relevant for the example.
First Person
- Field of View: 60
- Camera View: First Person
Classic first person view point, the standard view that you would use for most VR experiences.
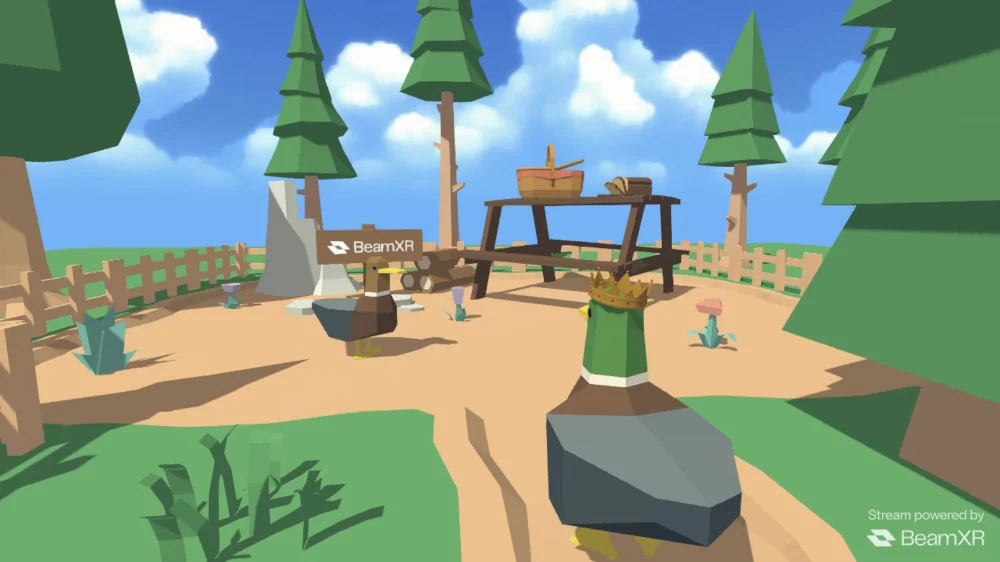
Third Person Front View
- Field of View: 60
- Camera View: Third Person
- Look Type: Player
- Y Angle: 0
- Z Distance: 1
- Camera Height: 0.2
Staring straight back towards the player, follows their head rotation. Good for showing off character's visuals and expressions.
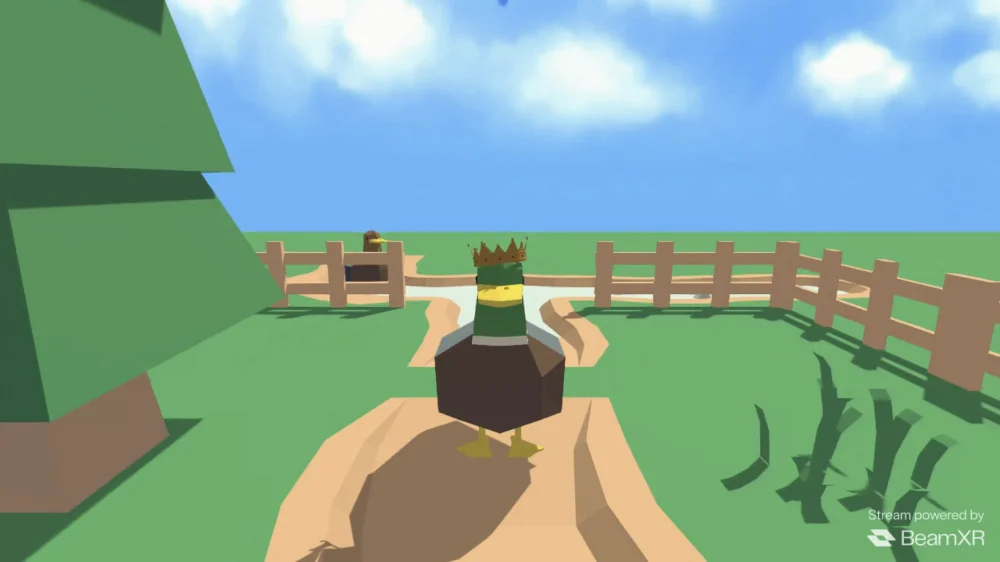
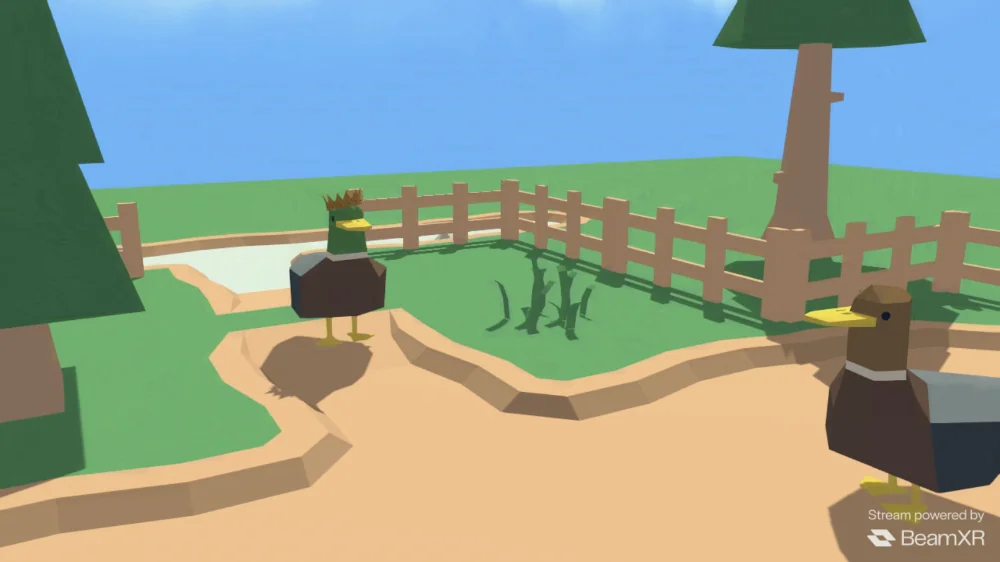
Third Person Rear View
- Field of View: 60
- Camera View: Third Person
- Look Type: Player
- Y Angle: 180
- Z Distance: 1
- Camera Height: 0.2
The classic third person view point, follows the player's head rotation. Great for almost any experience without any significant adjustments.
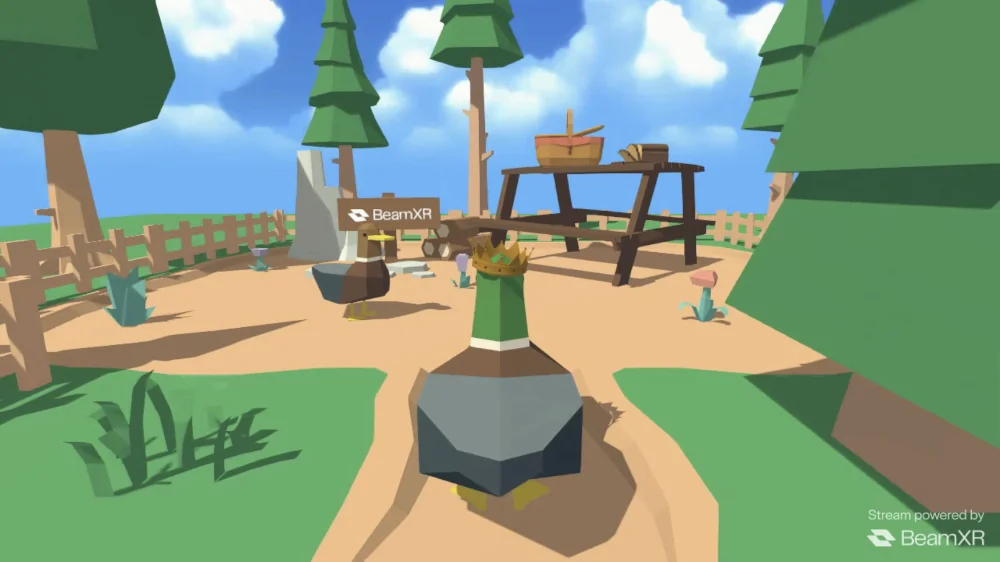
Third Person Context
- Field of View: 60
- Camera View: Third Person
- Look Type: Look Position
- Y Angle: 200
- Z Distance: 1
- Z Look Distance: 2
- Camera Height: 0.2
- Head Height: -0.2
Third person but with a bit more context! It targets in front of the player instead of them directly. Use it when you want to give viewers a bit more insight into what the player is actually doing and seeing.
Third Person Close Up
- Field of View: 60
- Camera View: Third Person
- Look Type: Direction
- Y Angle: 135
- Z Distance: 0.3
- Camera Height: 0.02
Follow the player's direct gaze, so the viewers can see their targets and intentions one to one. Good for adding a bit more context to strongly first person experiences such as shooters.
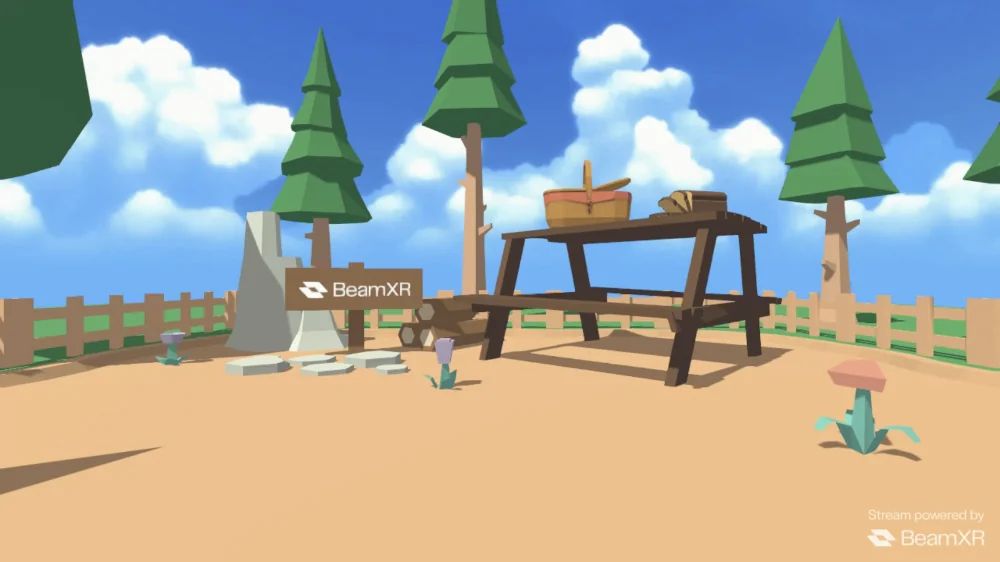
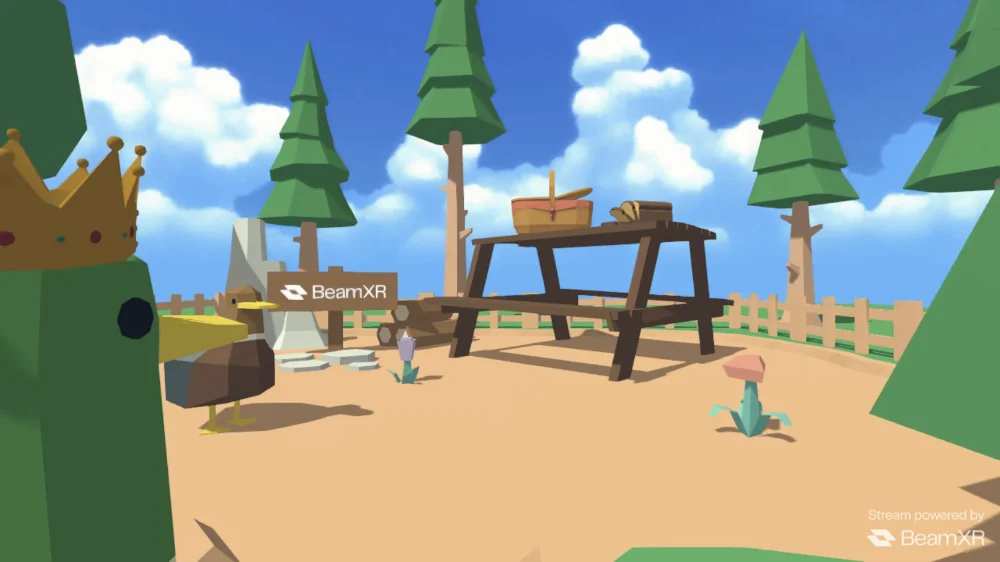
Object Attached Follow
- Field of View: 40
- Camera View: Object Attached
- Look Type: Look Position
- Z Look Distance: 1
Put your viewers in the eyes of an object within the scene (in this example, the bread on the bench), but follow the player around. Good for moments where you want to show off environmental effects as the player progresses through your game.